
Lobe is a free, easy-to-use Microsoft desktop application that allow users to build, manage and use custom machine learning models. Once created, these models can be directly uploaded to AI Builder for use with Power Apps and Power Automate.
Step 1: Download and Install Microsoft Lobe.
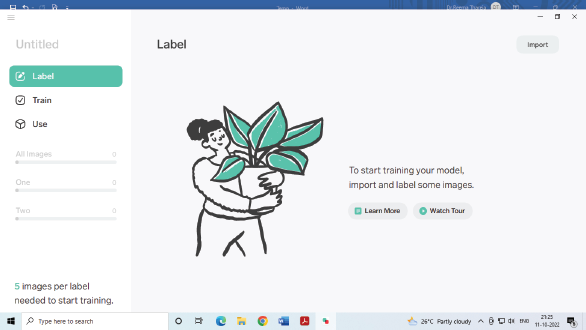
Step 2: Add and Label Images in Lobe. For this, click the New Project button when Lobe opens. Enter a name for your project. Then add and label some images to create machine learning model.
You can either import images from an existing dataset or capture them from a webcam. While adding images, make sure that you add at least five images of the same subject. Ideally, these should have variations in background, lighting or position to help Lobe identify the important parts.
Now, enter a descriptive label for the first image. Lobe will save this label, so that it can be used for other images in the dataset.
Next, import another set of images of a different but related subject. Label the first image with a descriptive tag, and then use that label to the other images.
You may add more sets of images. However, to create a model, we need two different sets at least.
Step 3: Train Your machine learning model. You can test if the model works accurately or not by importing another image. See if Lobe predicts the correct label. To check the prediction, click on Play button and then either drag and drop a picture into the app, or click Import. If Lobe correctly predicts the label for the imported image, click the green tick button; if not, click the red button.
You may add any number of images to train the AI model to recognize different variations of the subject. Microsoft suggests that you should add between 100 and 1,000 images per label, depending on the complexity of the task.
Step 4: Optimize the machine learning model. If Lobe makes incorrect predictions, you will have to make it more reliable. You may add more variations of mislabelled images to make future predictions more accurate.
Step 5: Export the Lobe Model to be used in an App.
Leave a Reply